Create Organization on Local Installation
In this final section, you will set up an organization within your locally installed GoodData.CN deployment. This organization will manage users, permissions, and analytics workspaces, and will define how your GoodData.CN instance can be accessed on your local machine.
Create Organization
With GoodData.CN installed, the next step is to set up an organization within your deployment. This organization acts as the foundational structure for managing users and resources, providing an organized environment for your local testing.
Steps:
Come up with a password that you will be using as the administrator password, for example
MySecretPassword.Generate a salted hash of the administrator password:
openssl passwd -6 MySecretPasswordThe resulting salted hash should look something like this:
$6$xx7ZTNMJU2wHDbwI$eR5qNMzP6Bq.TSIr/tMdTz..8EF3tdG4Yxy.jpvZVORGxstC9WsPGTxaOC/0BVli84Q7OdtmcG0OJyAfui84h.You will use this hash in the next step.
Create a file
your-org-definition.yamlwhere you prepare a YAML definition of the organization custom resource:apiVersion: controllers.gooddata.com/v1 kind: Organization metadata: name: alpha-org spec: id: alpha name: "Alpha, Corp." hostname: localhost adminGroup: adminGroup adminUser: admin adminUserToken: "<admin_password_salted_hash>"Load the YAML definition to the Kubernetes cluster:
kubectl -n gooddata-cn create -f your-org-definition.yamlCheck that you can see your organization as one of your Kubernetes resources:
kubectl -n gooddata-cn get orgyou should see:
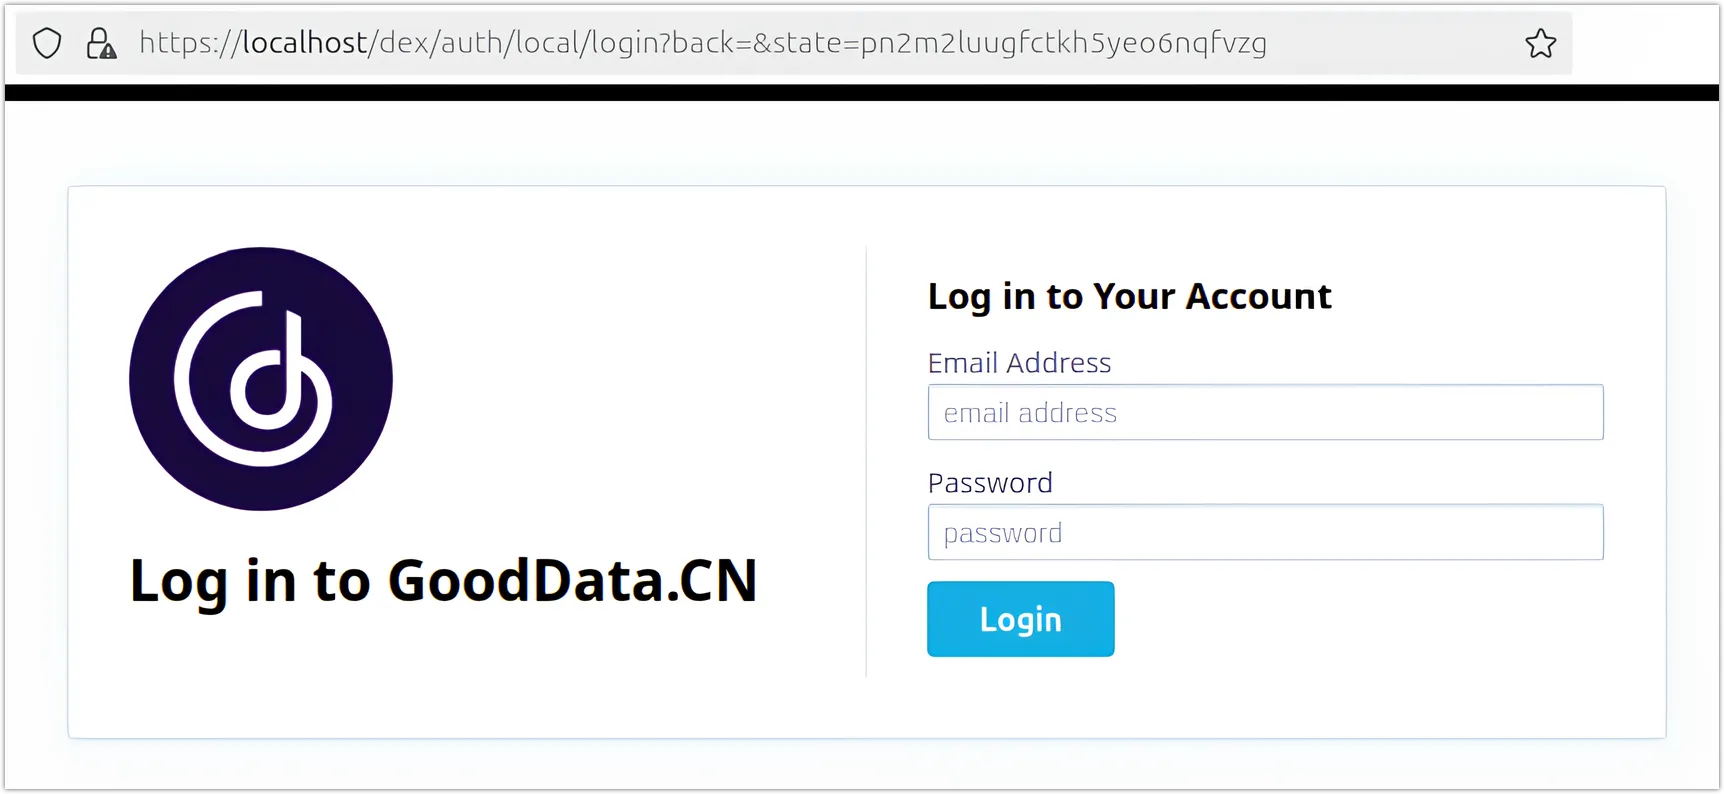
NAME         ID         NAME           HOSTNAME
alpha-org    alpha      Alpha, Corp.   localhost
Your organization is now up and running, you should be able to reach the login screen on https://localhost:
Create bootstrap token to be able to administer your GoodData.CN deployment. Construct a token string using the following format:
<adminUser>:bootstrap:<adminPassword>so using our previously used example values:
admin:bootstrap:MySecretPasswordEncode the token string using base64:
echo -n 'admin:bootstrap:MySecretPassword' | base64you should get something like:
YWRtaW46Ym9vdHN0cmFwOk15U2VjcmV0UGFzc3dvcmQ=save this bootstrap token for later use.
Set Up Admin User
The default admin user has already been created in the GoodData organization. The next step is to create a corresponding user in Dex and update the admin user in the GoodData organization with the corresponding authenticationId from Dex. This process will allow you to log in and fully utilize GoodData.CN, ensuring that your administrator account is properly integrated and functional within the system.
Steps:
To create a user in Dex, submit a POST request to
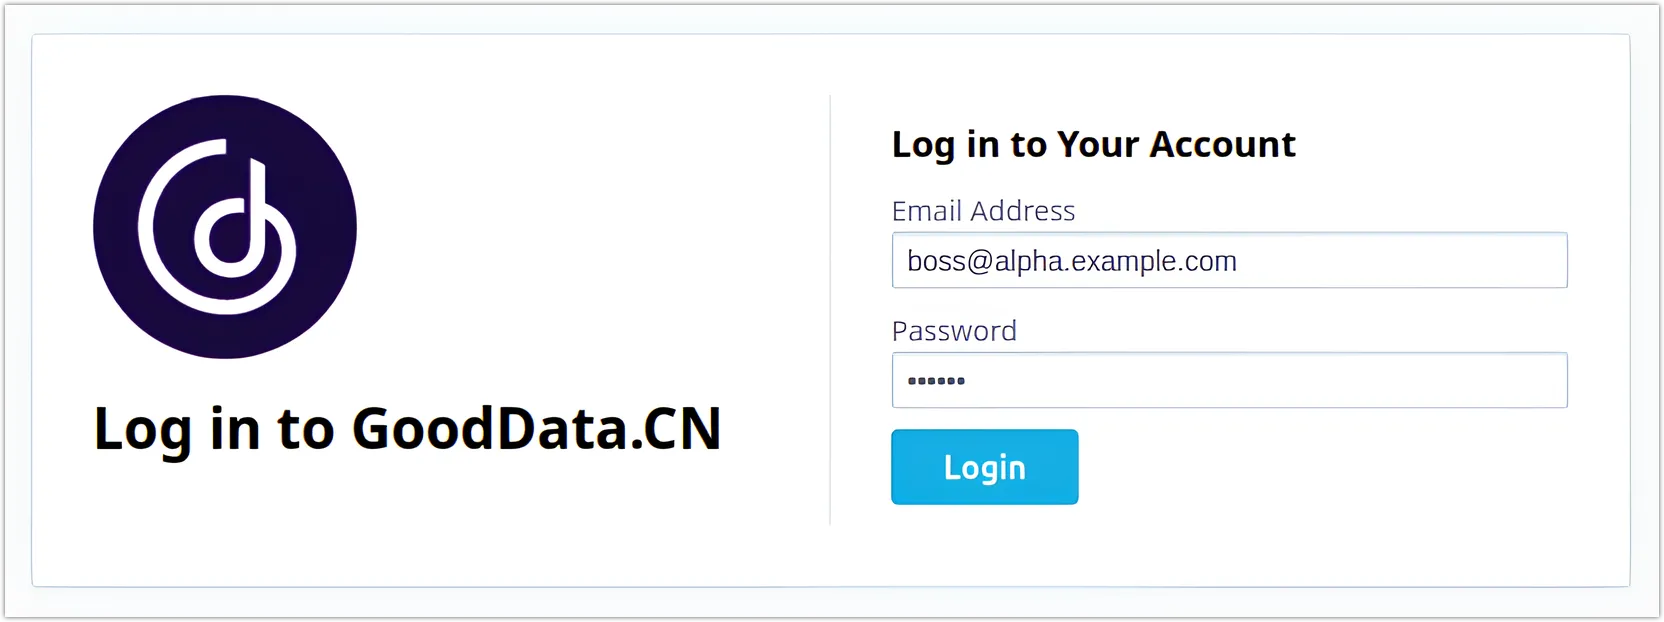
/api/v1/auth/users:curl localhost/api/v1/auth/users \ -H "Authorization: Bearer YWRtaW46Ym9vdHN0cmFwOk15U2VjcmV0UGFzc3dvcmQ=" \ -H "Content-type: application/json" \ -X POST \ -d '{ "email": "boss@alpha.example.com", "password": "123456", "displayName": "John Doe" }'You will get back a response with your user’s
authenticationId:{ "email": "boss@alpha.example.com", "password": null, "displayName": "John Doe", "authenticationId": "CiQxOTIwNzc0Ny04ZWJkLTQ4ZjEtOGY3OC1iYjY2YmQ0ZjQwMjASBWxvY2Fs" }You will need the
authenticationIdin the next step.Now update the admin user in your GoodData.CN organization by making a PATCH request to
/api/v1/entities/users:curl -X PATCH localhost/api/v1/entities/users/admin \ -H "Authorization: Bearer YWRtaW46Ym9vdHN0cmFwOk15U2VjcmV0UGFzc3dvcmQ=" \ -H "Content-Type: application/vnd.gooddata.api+json" \ -d '{ "data": { "id": "admin", "type": "user", "attributes": { "authenticationId": "CiQxOTIwNzc0Ny04ZWJkLTQ4ZjEtOGY3OC1iYjY2YmQ0ZjQwMjASBWxvY2Fs", "email": "boss@alpha.example.com", "firstname": "John", "lastname": "Doe" } } }'Go to https://localhost and login using the user account you have just set up.
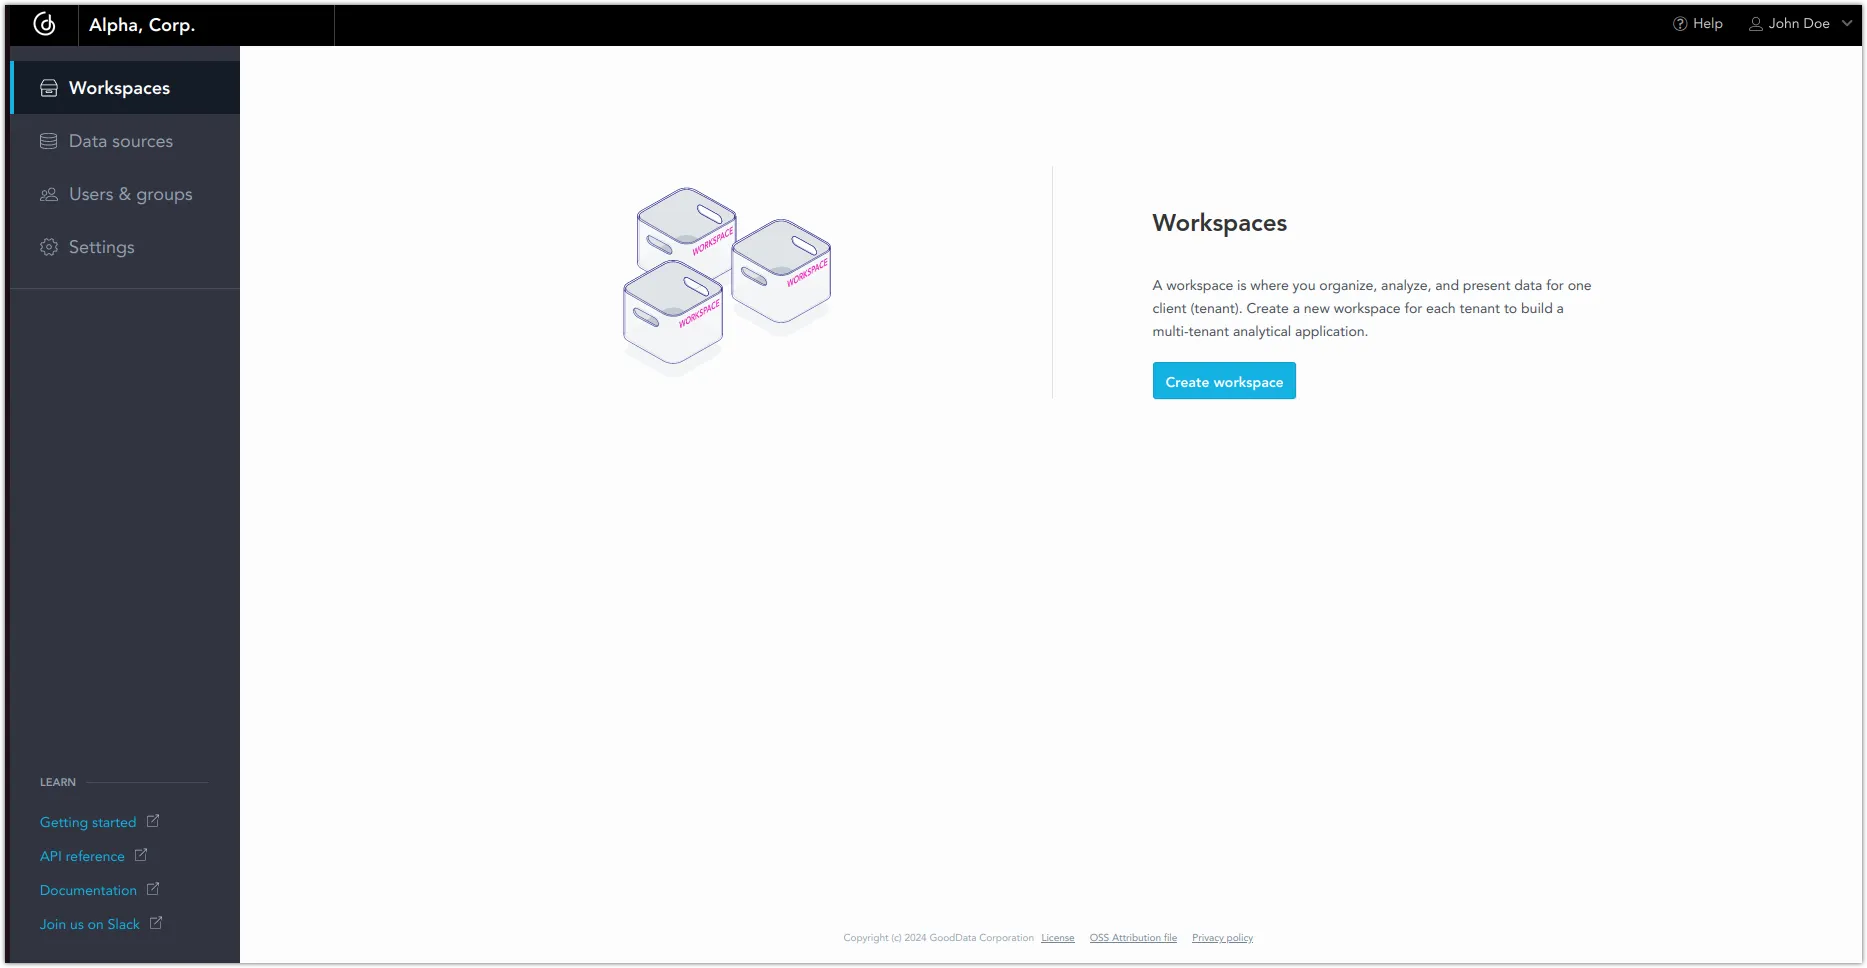
You can now start using GoodData on your local machine!
To add more users, use the
/api/v1/auth/usersendpoint to create new users in the Dex identity provider and then see Manage Users on how to add them in GoodData.CN.