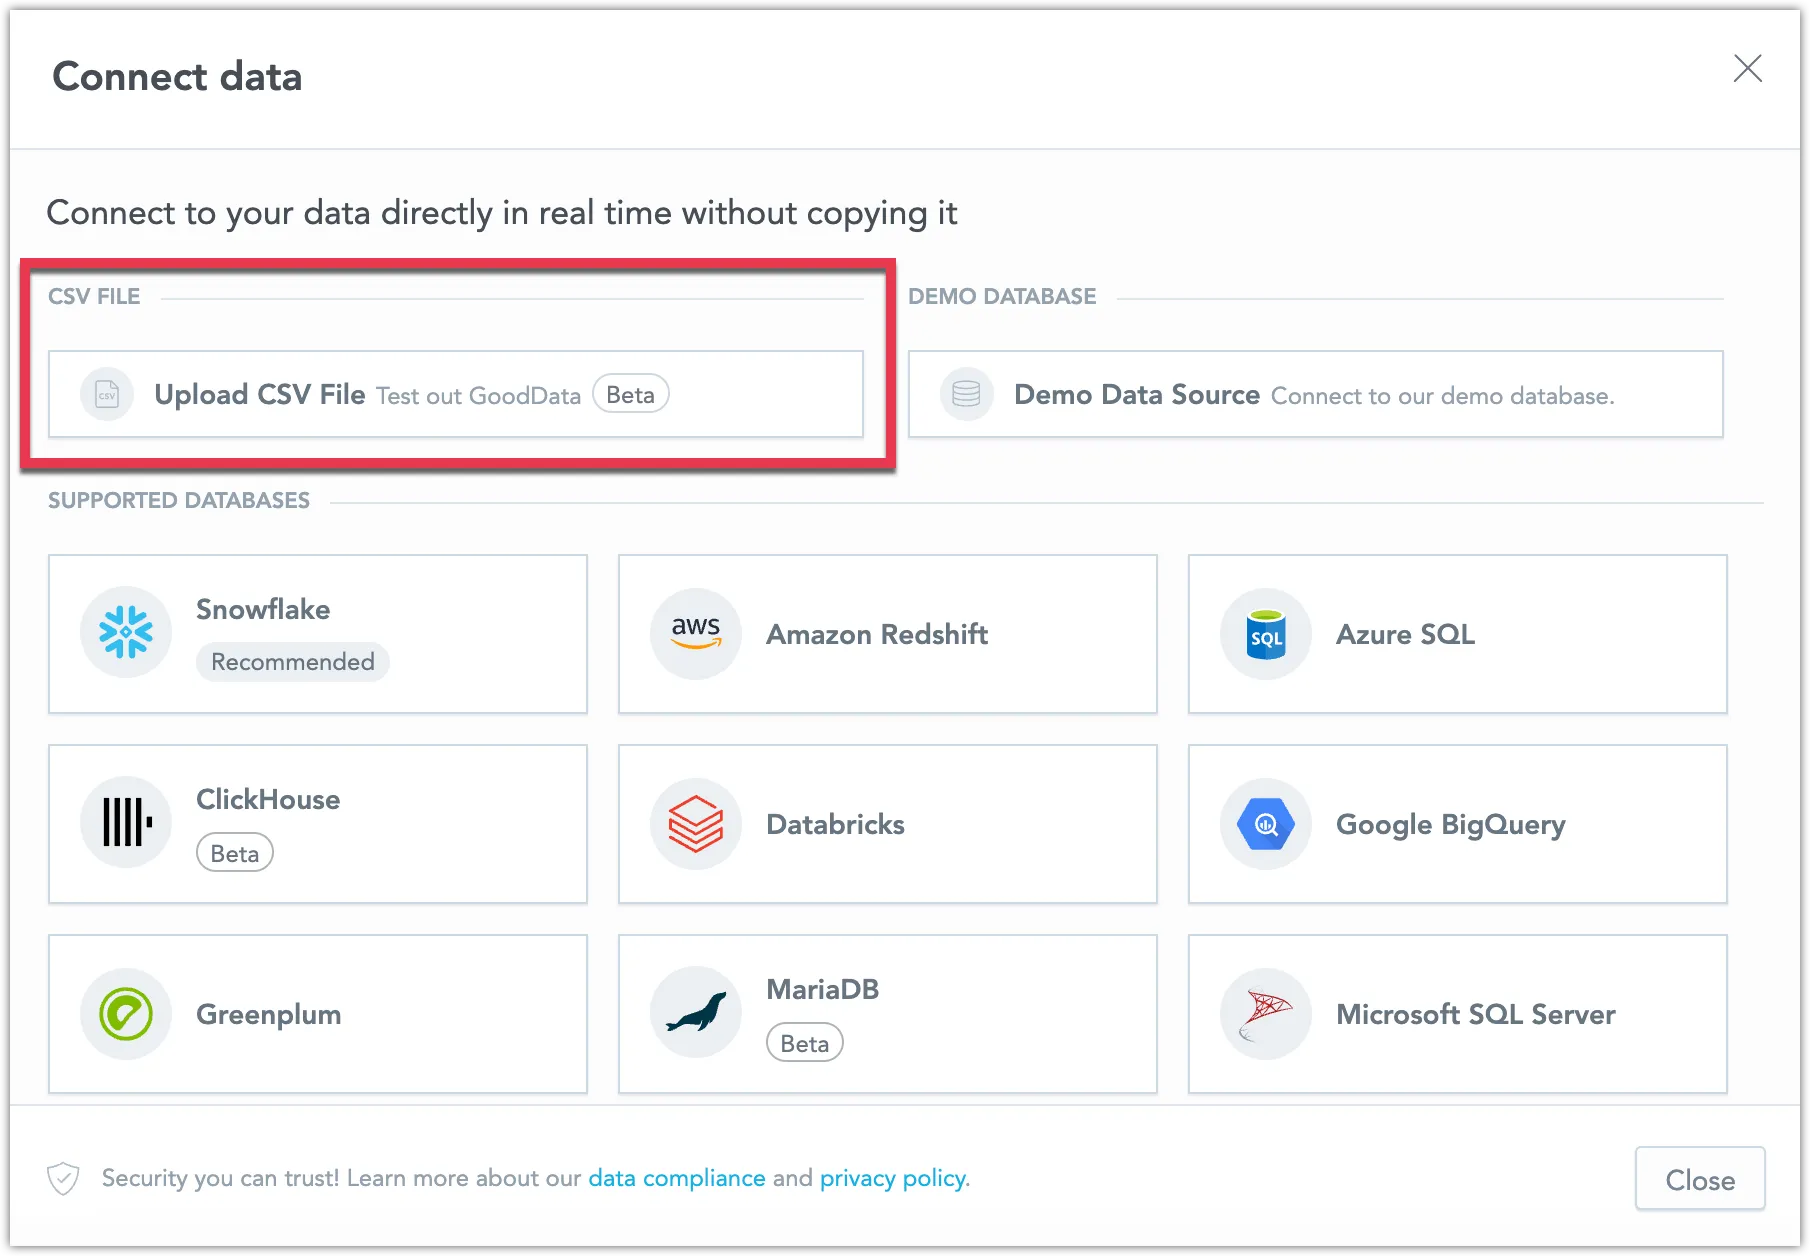
Upload CSV Files
You have the option to upload one or more CSV files that will act as a data source.
Initial Setup of the CSV Storage
Before using CSVs in GoodData.CN, you need to set up their storage.
Choosing the Storage Type
To select the storage type for CSV files, use the quiver.datasourceFs.storageType key:
- Set it to
FSto use a file system. - Set it to
S3to use Amazon AWS S3 storage or a compatible alternative like MinIO.
Configuring an AWS S3 Storage
Use the quiver.s3DatasourceFsStorage key for S3 storage configuration:
quiver.s3DatasourceFsStorage.s3Bucket: Name of the bucket for storing CSV data.quiver.s3DatasourceFsStorage.s3BucketPrefix: Optional prefix for storing data in the bucket.quiver.s3DatasourceFsStorage.s3Region: AWS region of the bucket.quiver.s3DatasourceFsStorage.authType: Authentication type for the bucket:quiver.s3DatasourceFsStorage.aws_tokens: For hardcoded tokens, uses3AccessTokenands3SecretTokenin the same value group.quiver.s3DatasourceFsStorage.aws_default: Use default AWS authentication from the environment.quiver.s3DatasourceFsStorage.none: No authentication (useful for local MinIO).
quiver.s3DatasourceFsStorage.endpointOverride: Override the connection endpoint (useful for local MinIO).quiver.s3DatasourceFsStorage.scheme: Connection scheme (defaults to HTTPS).
Configuring a File System Storage
Use the quiver.fsDatasourceFsStorage key for the file storage configuration:
quiver.fsDatasourceFsStorage.storageClassName: Name of the k8s storage class for the data. It must be shared and have ReadWriteMany access mode so thatquiver-datasourceandresult-cachepods can access it.quiver.fsDatasourceFsStorage.storageSize: Amount of storage to request from the storage class.
User Data
Ensure you back up the file system storage data, as user-uploaded data is stored here. Losing this storage means losing user data.
Configuring Specific Pods
Several settings affect the CSV feature. Besides the storage-related settings, you can adjust other parameters based on your needs. These settings are grouped under the quiver.datasourceFs group. We recommend starting with the default values and making changes later if necessary.
Enabling the CSV Feature
To enable the CSV feature and deploy the necessary pods, set the deployQuiverDatasourceFs Helm value to true. Without this, all configurations mentioned above will not be effective.
Managing CSVs
In the Logical Data Model (LDM), you can link data from multiple CSV files within the same data source. This is not possible if the CSV files are in different data sources.
If you need to update or delete a CSV file, follow these steps:
- Open the Data Sources tab.
- Select your CSV data source.
- In the dialog that appears, select the CSV file you want to update or delete.
- Click the three dots icon on the right and choose the appropriate action. For updating, select a CSV file whose content will overwrite the previously uploaded CSV file.
How to Format Your CSV
To ensure maximum compatibility with GoodData, your CSV file should adhere to the following formatting guidelines:
Field Names
- Place field names in the first line of your CSV file.
- Field names must be unique; ensure there are no duplicates.
Quotation Marks
- It’s recommended to enclose string fields in double quotes (
") especially if they might contain characters used as field separators or newline characters. - If a string field contains a double quote character (
") within, escape it by using two double quote characters (""). - As a general guideline, adhering to RFC 4180 standards is advisable.
Newlines
Avoid using newline characters within fields. If unavoidable, use LF (\n) as the newline separator within fields and CRLF (\r\n) as the record separator.
Date
Your CSV file can accommodate various common date formats:
dd-MM-yyyy,MM-dd-yyyy,yyyy-MM-dddd-MMM-yyyy,MMM-dd-yyyy,yyyy-MMM-ddMMM dd, yyyy- Dates can be separated by a dash (
-), slash (/), dot (.), space (yyyymmdd). - Both one-digit and two-digit day and month formats are supported.
- The following formats also support two-digit year representations:
dd-MM-yyyy,MM-dd-yyyy,yyyy-MM-dd.
Example Dates
18.8.2014,08 18 2014,08-18-1418/08/14,Aug-18-2014,2014.aug.1818 AUG 2014,Aug/18/2014,Aug 18, 2014
Time
- Only the ISO format
HH:MM:SSis supported for time. - We consider all times to be UTC, there is currently no support for timezones.
Limits
- A maximum of 250 columns is allowed.
- Each cell can contain up to 255 characters.
- The CSV file size must not exceed 200MB and the combined size of all the files must not exceed 1GB per data source.
- SQL Datasets are not supported when using a CSV file as your data source.
Disable CSV Uploads
If you prefer not to use this feature, you can disable it with the following API call:
curl $HOST_URL/api/v1/entities/organizationSettings \
-H "Content-Type: application/vnd.gooddata.api+json" \
-H "Accept: application/vnd.gooddata.api+json" \
-H "Authorization: Bearer $API_TOKEN" \
-X POST \
-d '{
  "data": {
    "attributes": {
      "content": {
        "value": false
      },
      "type": "ENABLE_FILE_ANALYTICS"
    },
    "id": "csv_disable",
    "type": "organizationSetting"
  }
}' | jq .
