Create a ClickHouse Data Source
Disclaimer - Beta Feature
Support for ClickHouse data sources is an opt-in beta feature that needs to be turned on manually, see Enable Feature Flag.
Do not use beta features in your production environment.
Follow these steps to connect to ClickHouse and create a ClickHouse data source:
Refer to Additional Information for additional performance tips and information about ClickHouse feature support.
Enable Feature Flag
In GoodData Cloud Native, ClickHouse data source is an opt-in feature. If you want to try to connect to a ClickHouse data source, you first have to enable this feature in your Kubernetes deployment.
Steps:
Create a
clickhouse-ff.yamlfile containing the following values:authService: extraEnvVars: - name: GDC_FEATURES_VALUES_ENABLE_CLICKHOUSE_DATA_SOURCE value: "true" metadataApi: extraEnvVars: - name: GDC_FEATURES_VALUES_ENABLE_CLICKHOUSE_DATA_SOURCE value: "true"Upgrade your helm chart using the yaml file:
helm upgrade -n gooddata-cn gooddata-cn gooddata/gooddata-cn \
--values customized-values-gooddata-cn.yaml \
--values clickhouse-ff.yaml
see the K8S Upgrade Guide if you need a more detailed explanation of this statement.
Be Careful When Updating Helm Chart
Unlike YAML objects, arrays are NOT mergeable. If you are updating the helm chart using multiple yaml files, you risk overwriting your
extraEnvVarsvalues from one YAML file, byextraEnvVarsfrom your other YAML file. For this reason we recommend you stage all your changes to arrays likeextraEnvVarsin a single YAML file.
Please note that you will have to include the clickhouse-ff.yaml file in all your future helm upgrades, if you want to keep this feature flag enabled.
If you want to enable this feature flag permanently, we recommend you update authService and metadataApi in the customized-values-gooddata-cn.yaml file itself. However our current plan is to enable this feature by default, once it is out of beta.
Configure User Access Rights
We recommend that you create a dedicated user and user role for integration with the GoodData platform.
Steps:
Create a user role and grant access rights:
CREATE ROLE {role_name};
GRANT SELECT ON {database_name}.* TO {role_name};
Note that pre-aggregation caching is not currently supported for ClickHouse data sources.
Create a user and grant it the user role:
CREATE USER {user_name};
GRANT {role_name} TO {user_name};
Make the user role default for the user:
ALTER USER {user_name} DEFAULT ROLE {role_name};
Create a ClickHouse Data Source
Once you have configured your ClickHouse user’s access rights, you can proceed to create a ClickHouse data source that you can then connect to.
Steps:
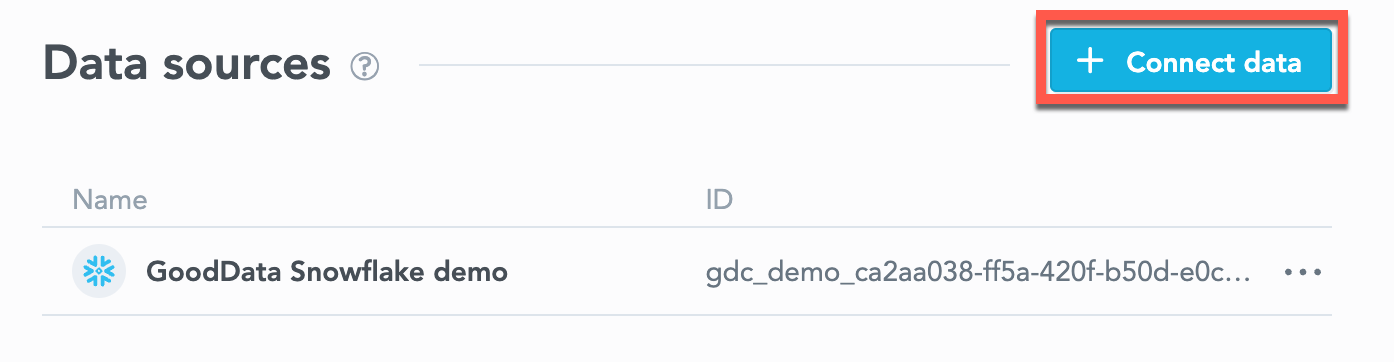
On the home page switch to Data sources.

Click Connect data.
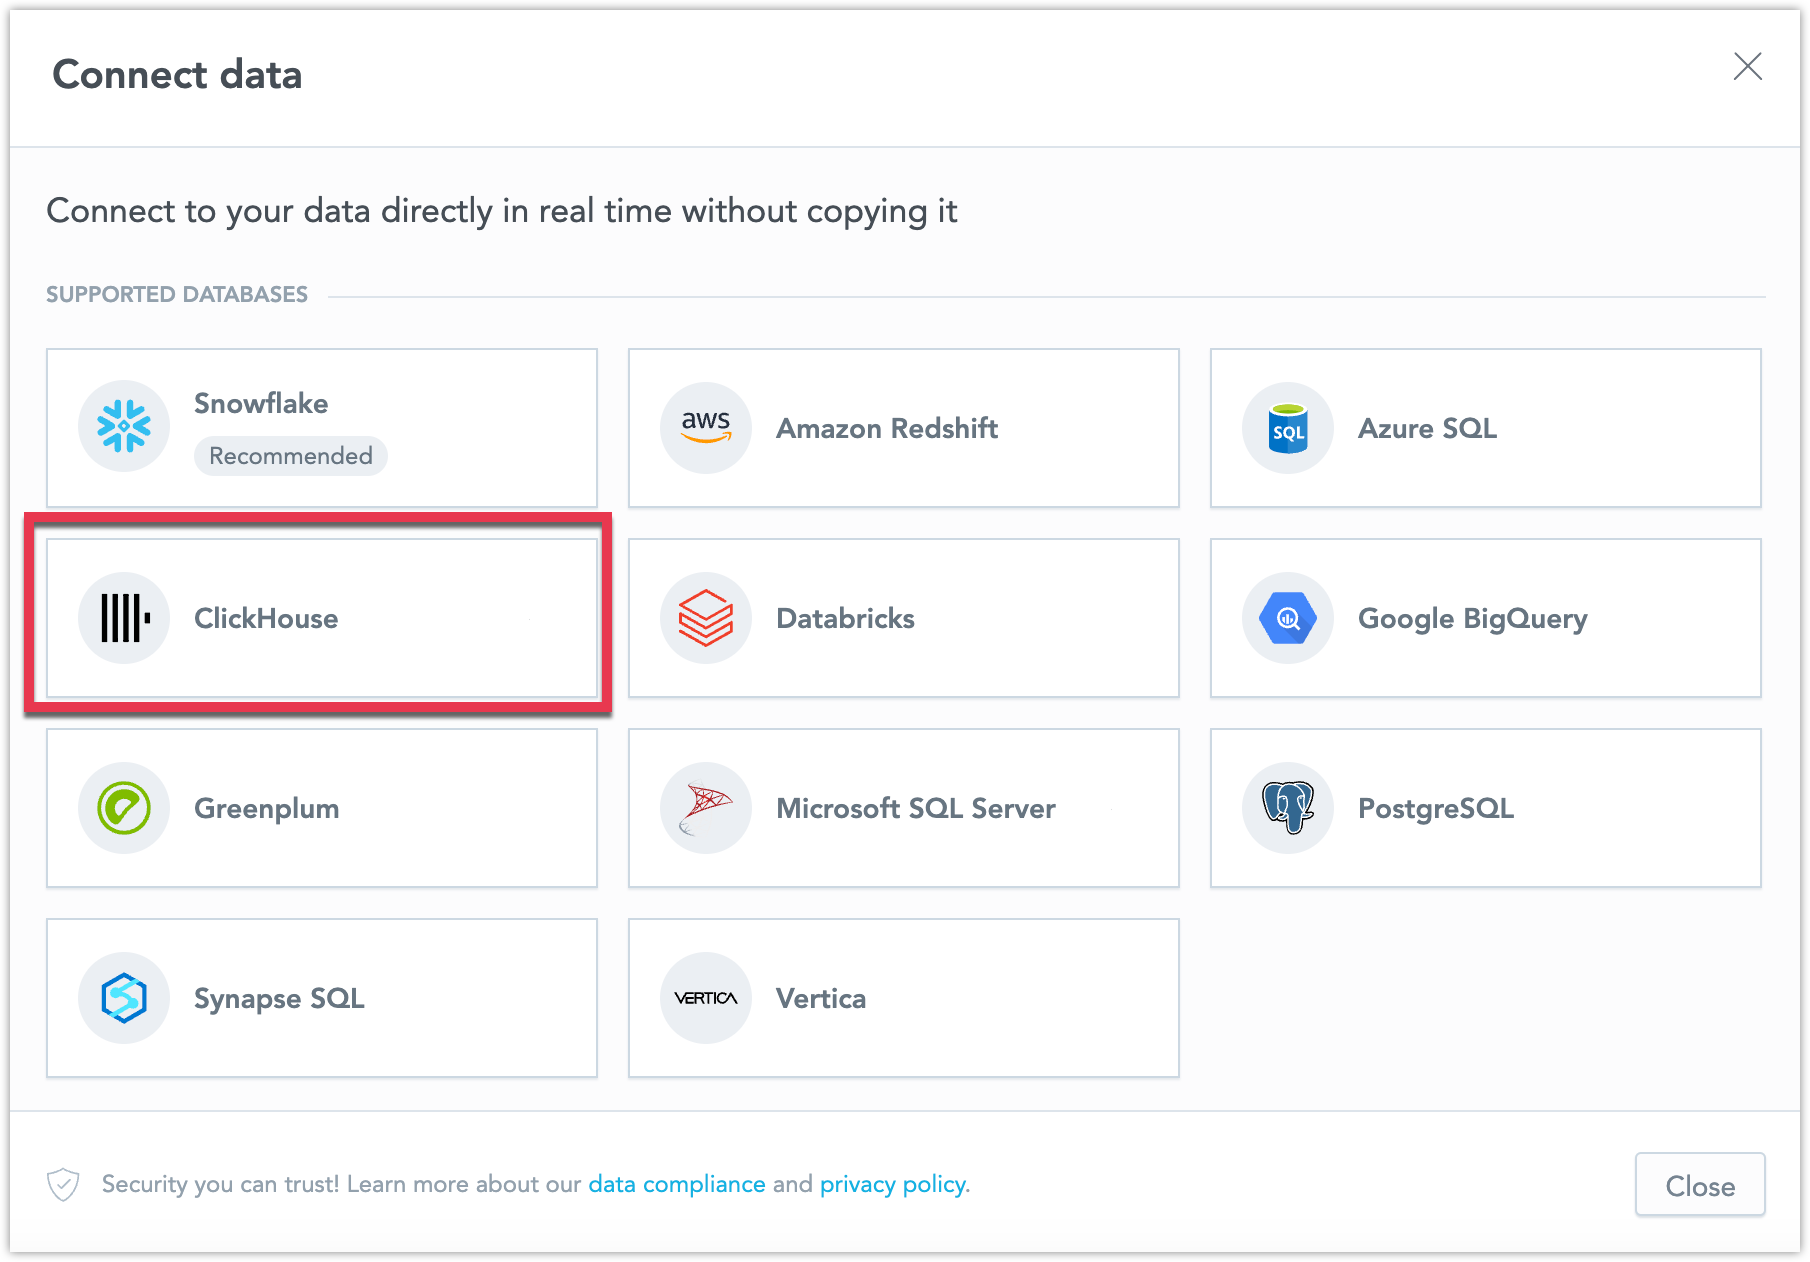
Select Clickhouse.
Name your data source and fill in your Clickhouse credentials and click Connect:
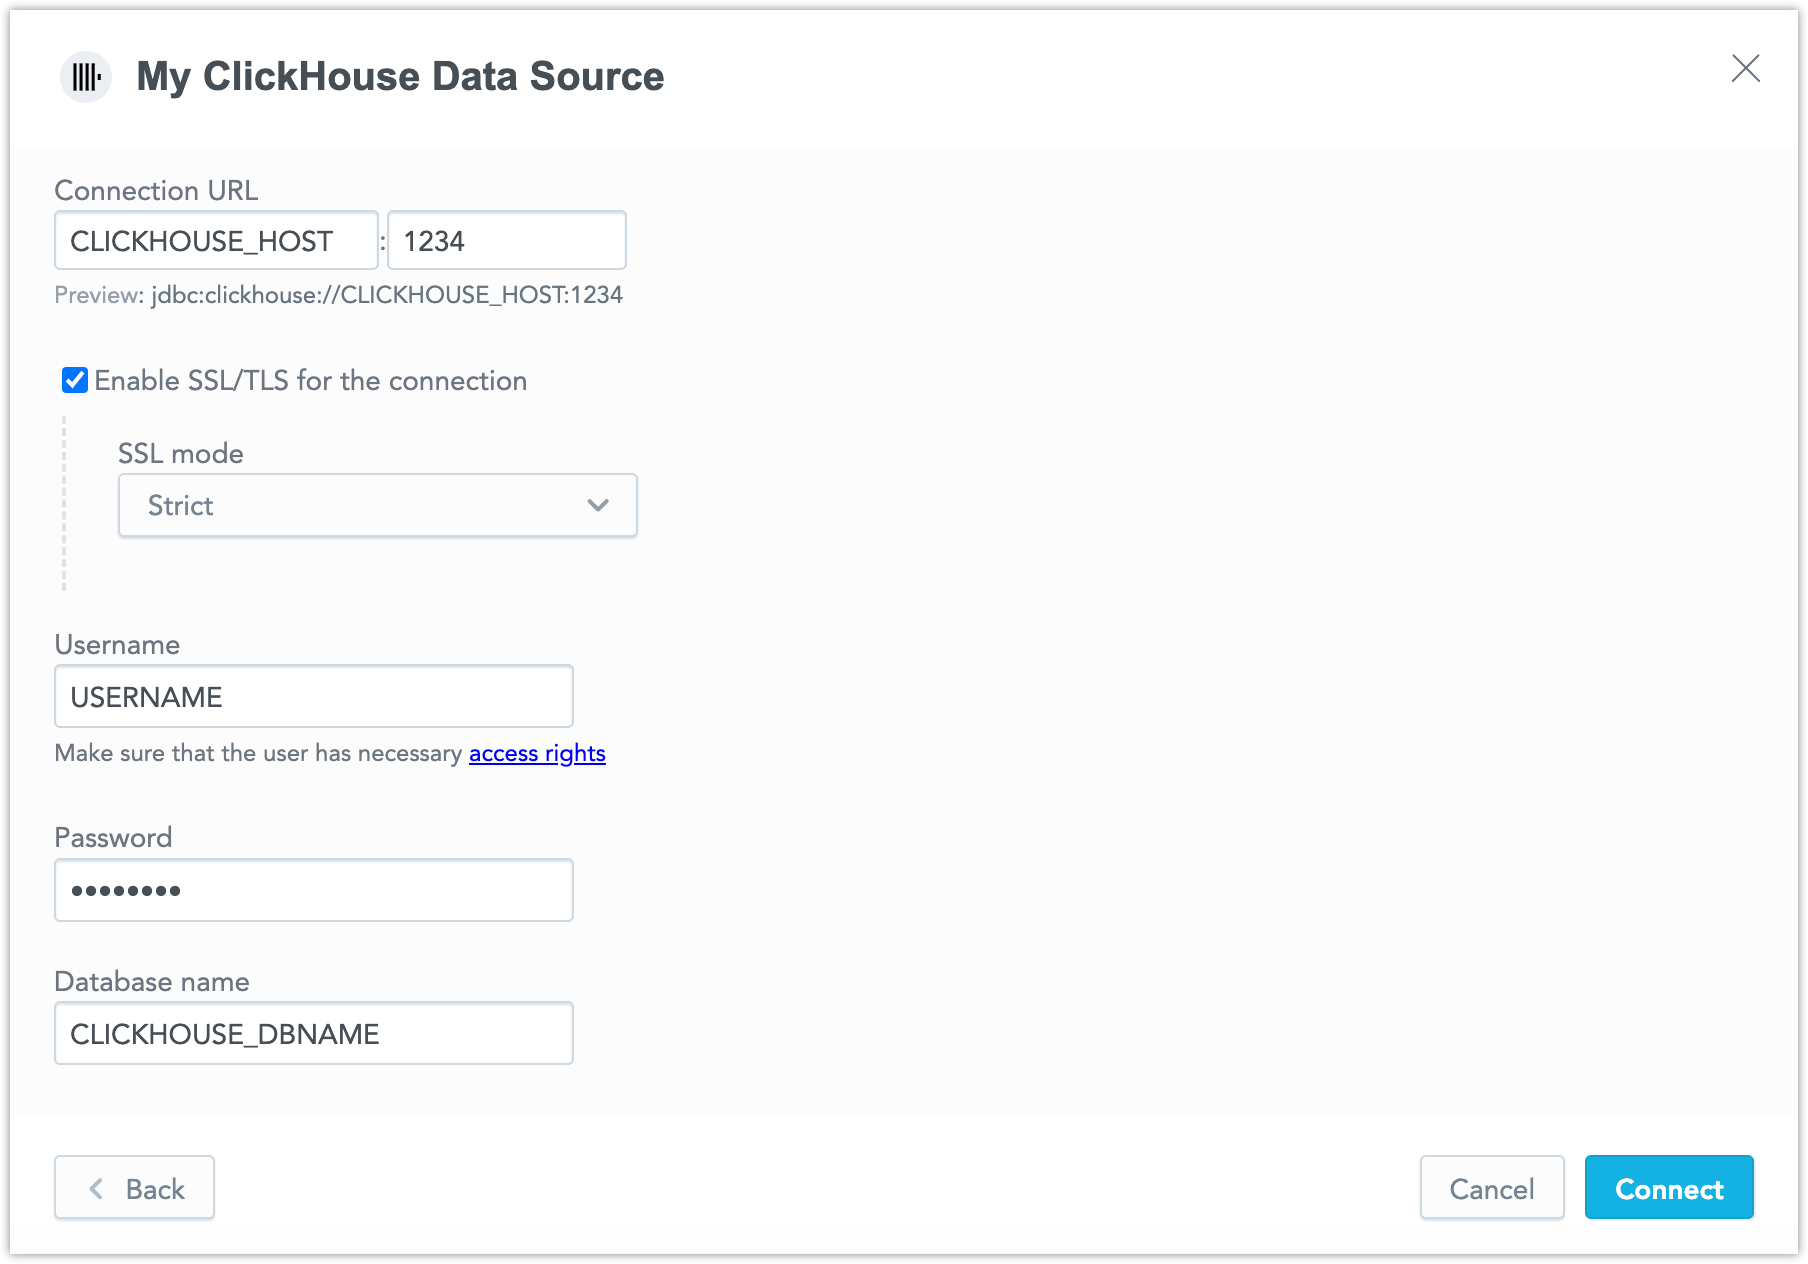
Click Save.
Your data source is created!

Steps:
Create a ClickHouse data source with the following API call:
curl $HOST_URL/api/v1/entities/dataSources \
-H "Content-Type: application/vnd.gooddata.api+json" \
-H "Accept: application/vnd.gooddata.api+json" \
-H "Authorization: Bearer $API_TOKEN" \
-X POST \
-d '{
    "data": {
    "type": "dataSource",
    "id": "<unique_id_for_the_data_source>",
    "attributes": {
    "name": "<data_source_display_name>",
    "url": "jdbc:clickhouse:https://<CLICKHOUSE_HOST>:8443/<CLICKHOUSE_DBNAME>",
    "schema": "<CLICKHOUSE_DBNAME>",
    "type": "CLICKHOUSE",
    "username": "<CLICKHOUSE_USER>",
    "password": "<CLICKHOUSE_PASSWORD>"
}}}' | jq .
To confirm that the data source has been created, ensure the server returns the following response:
{
  "data": {
    "type": "dataSource",
    "id": "<unique_id_for_the_data_source>",
    "attributes": {
      "name": "<data_source_display_name>",
      "url": "jdbc:clickhouse:https://<CLICKHOUSE_HOST>:8443/<CLICKHOUSE_DBNAME>",
      "schema": "<CLICKHOUSE_DBNAME>",
      "type": "CLICKHOUSE",
      "username": "<CLICKHOUSE_USER>"
    }
  },
  "links": {
    "self": "$HOST_URL/api/v1/entities/dataSources/<unique_id_for_the_data_source>"
  }
}
Additional Information
Ensure you understand the following limitations and recommended practice.
Data Source Details
Typical JDBC URL may look like this:
jdbc:clickhouse:https://<host>:<port>/<databaseName>For secured connection using SSL include
httpsor?ssl=true.Refer to the ClickHouse documentation to learn more about how the JDBC URL may be formatted.
Basic authentication is supported. Specify
userandpassword.GoodData uses up-to-date drivers.
Beta Limitations
Please be aware of the following limitations while testing the ClickHouse data source:
GoodData requires that all strings are encoded in UTF-8 or ASCII, which is a subset of UTF-8.
Clickhouse does not support foreign keys. Automatically generated LDM must rely on column naming conventions when it comes to generating relations among datasets.
Unsupported Features
GoodData does not support the following features:
- The following functions are not supported:
- PERCENT_RANK
- RSQ
- INTERCEPT
- boolean columns are not supported
- YEAR_FOR_WEEK Date dimension granularity in chronological queries is not supported
Supported URL Parameters
- ssl
- sslmode